If you like your quadcopter looking like a rat’s nest, read no further. If you are sophisticated and proper, read on.
This is a quick visual how-to for managing and tidying wires on a multicopter or drone.
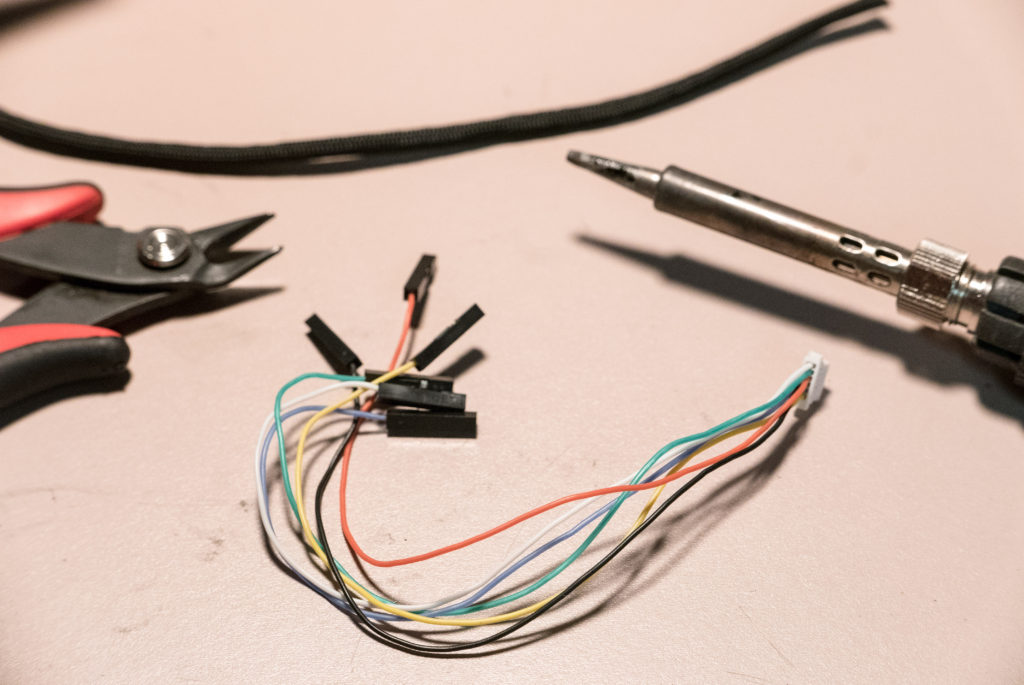
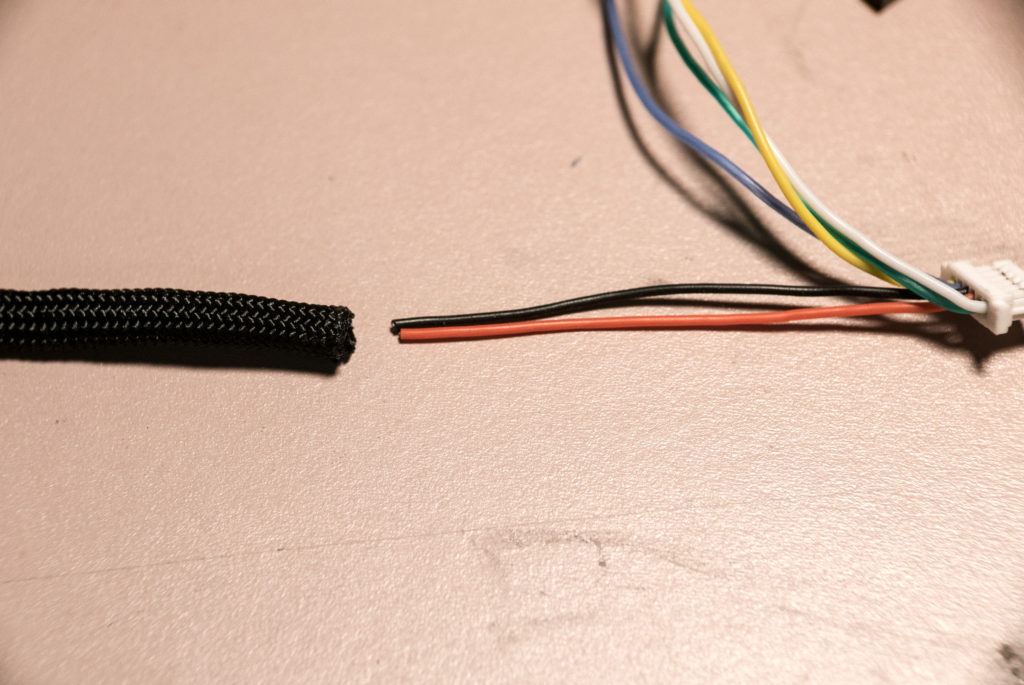
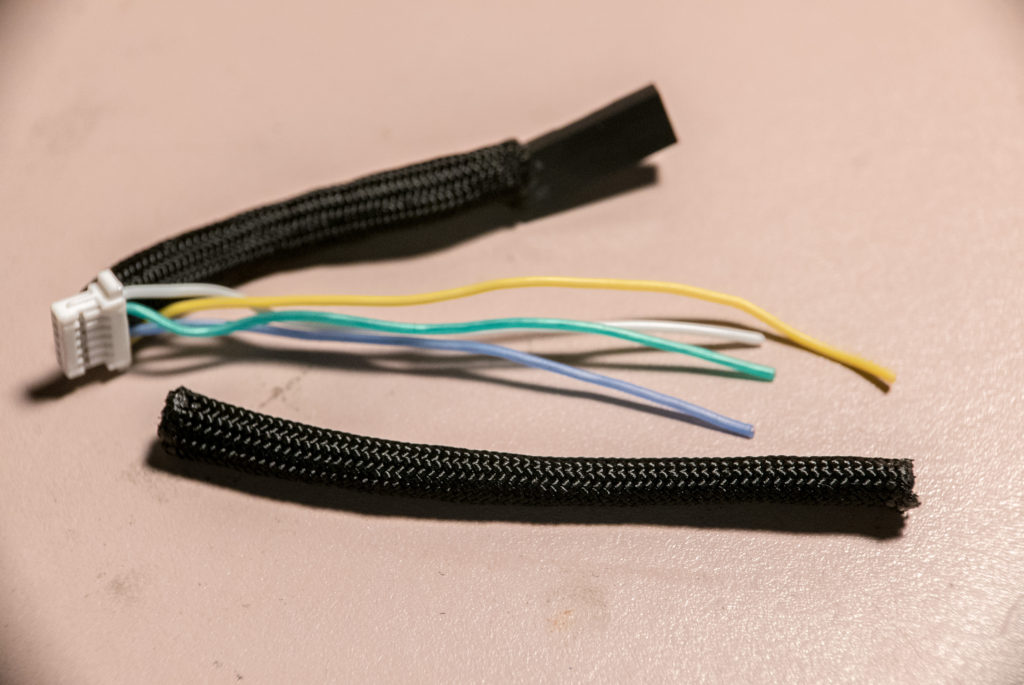
Here is a wiring harness for a Flip 32 Deluxe flight controller. I only need 3 of the wires here.
Step 1 – Cut Cable
Test fit and cut to length. Leave some extra length.
Step 2 – Cut Paracord
Cut a piece of 550 paracord (sold at Walmart or Amazon) to length. Cut it slightly longer than the wire. It is easy to cut shorter than to make it longer.
Pull out the white insides of the paracord.
Step 3 – Fuse Ends
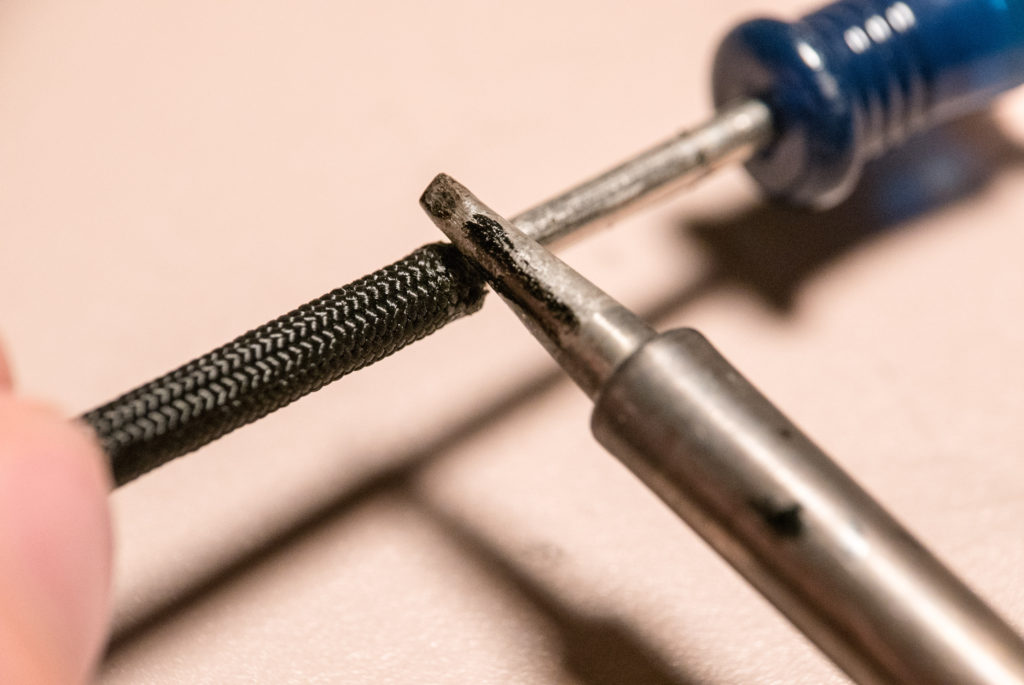
Slip the paracord onto a small screwdriver.
Twirl the paracord while touching a soldering iron to the paracord. This will get your tip dirty, so use an old tip. A paper towel or good sponge cleans it well.
If you can adjust the temp on your soldering iron, set it to 200F.
In a pinch, a lighter will work too.
Step 3 – Sleeve Cables
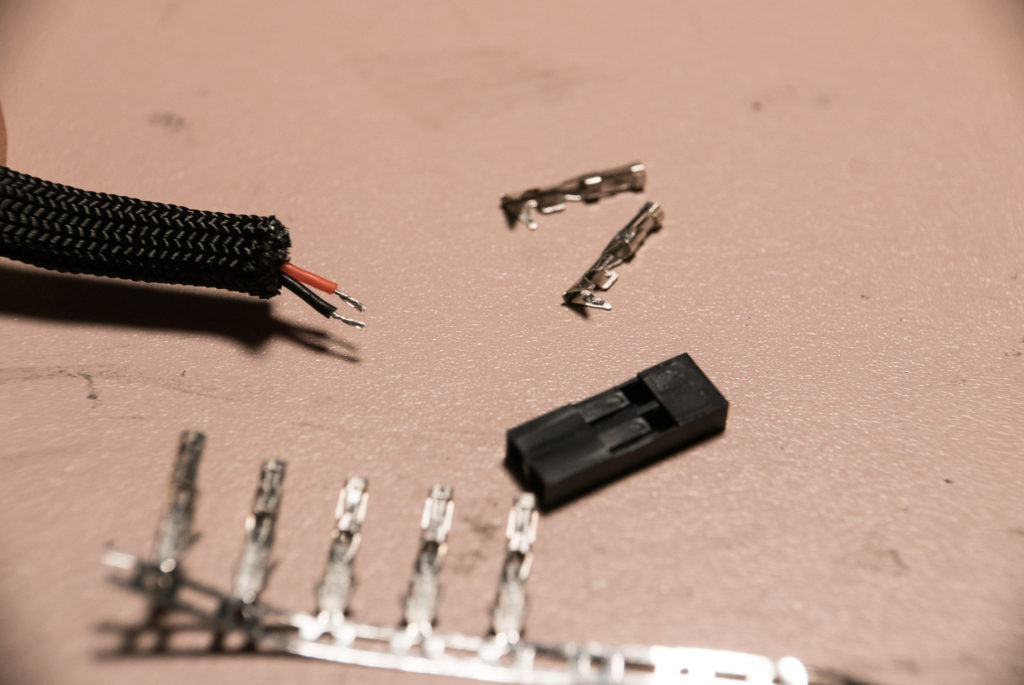
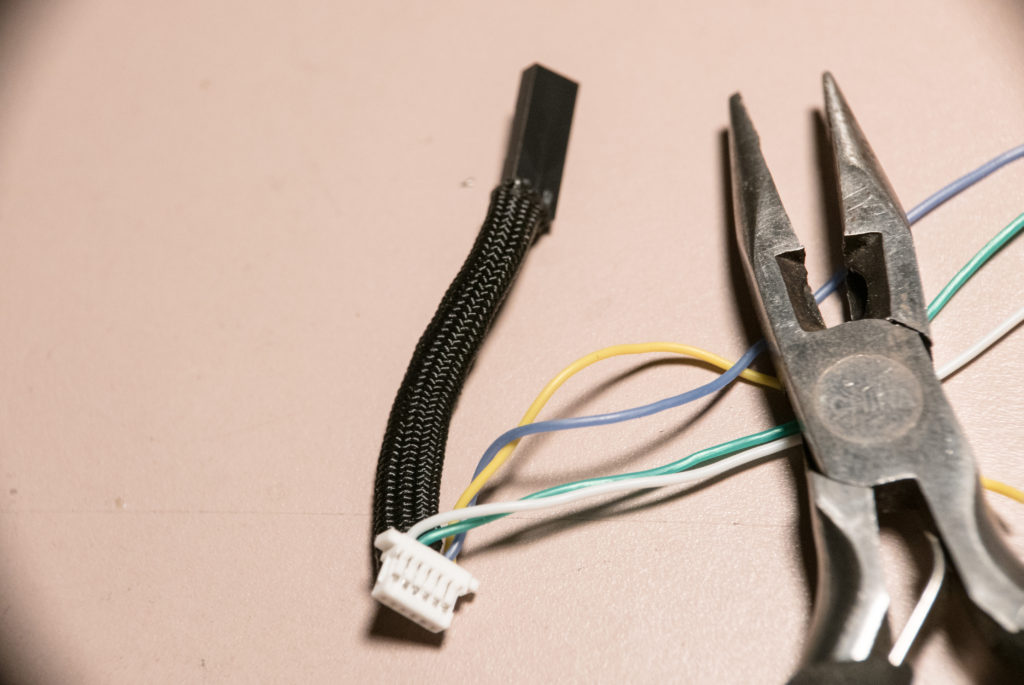
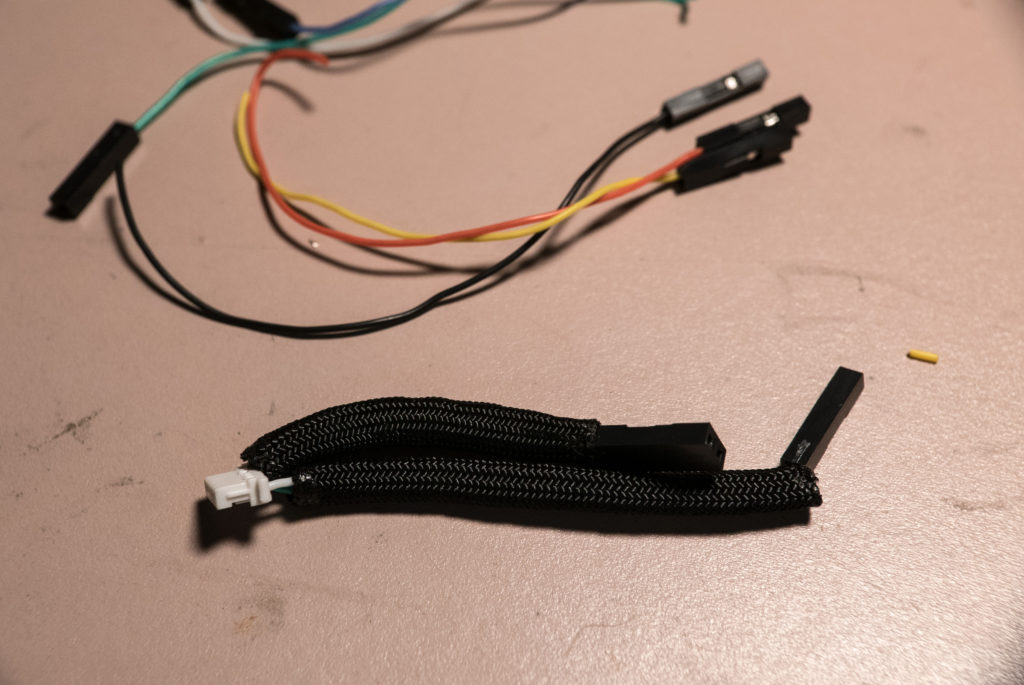
Attach your connectors. In this case, I am using DuPont Connectors. This is what you’d use for most Naze 32/Flip 32 setups. You’ll see it on OSDs, VTXs, and elsewhere. You can get a variety kit on eBay.
Complete!
Hiding Unused Wires
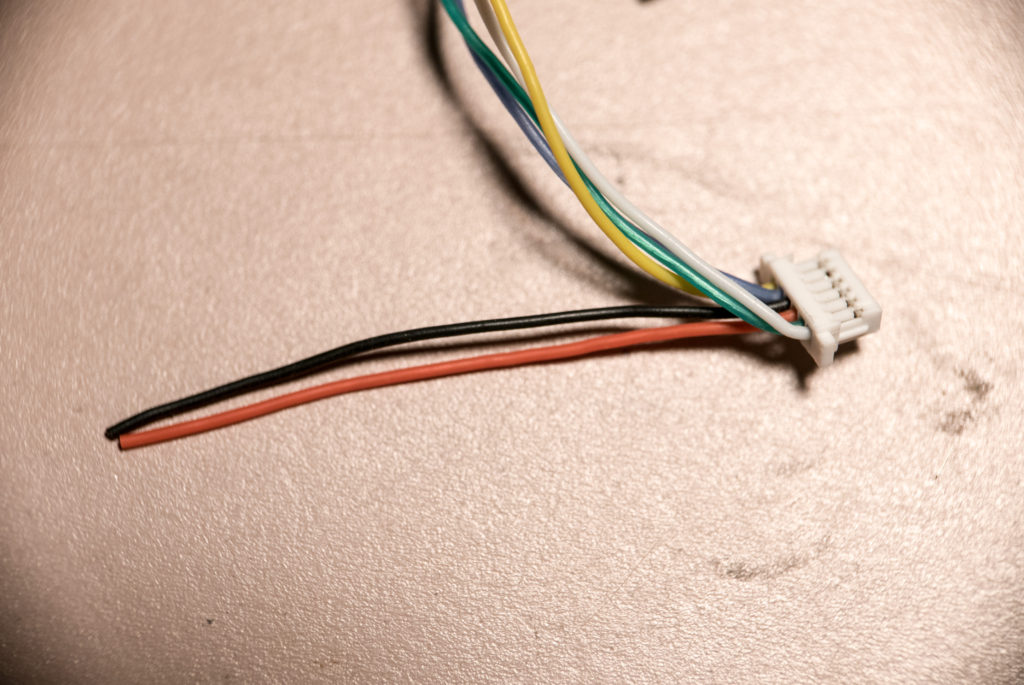
I only need the yellow wire. I don’t want to chop off the other wires, in case I need them in the future.
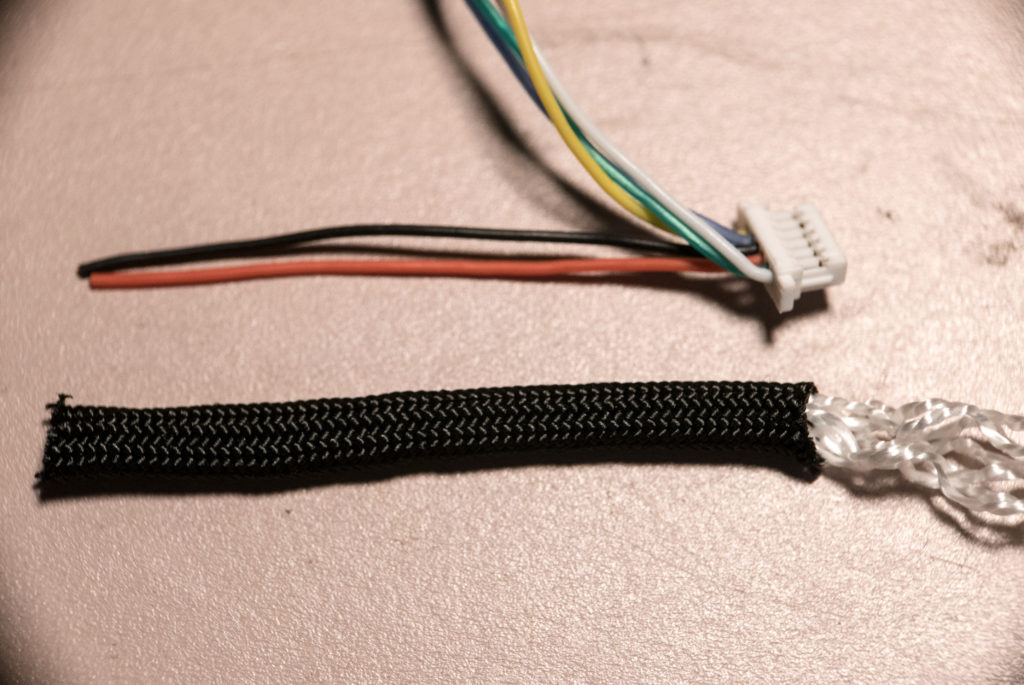
I cut them a bit shorter and hide them inside the paracord.
Finished Cable
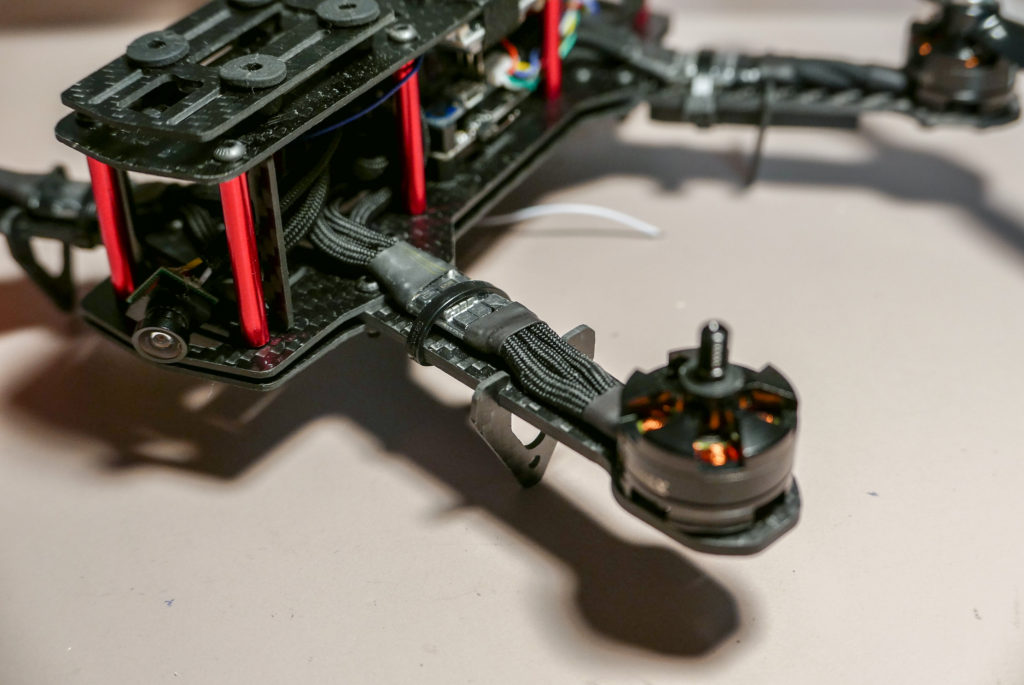
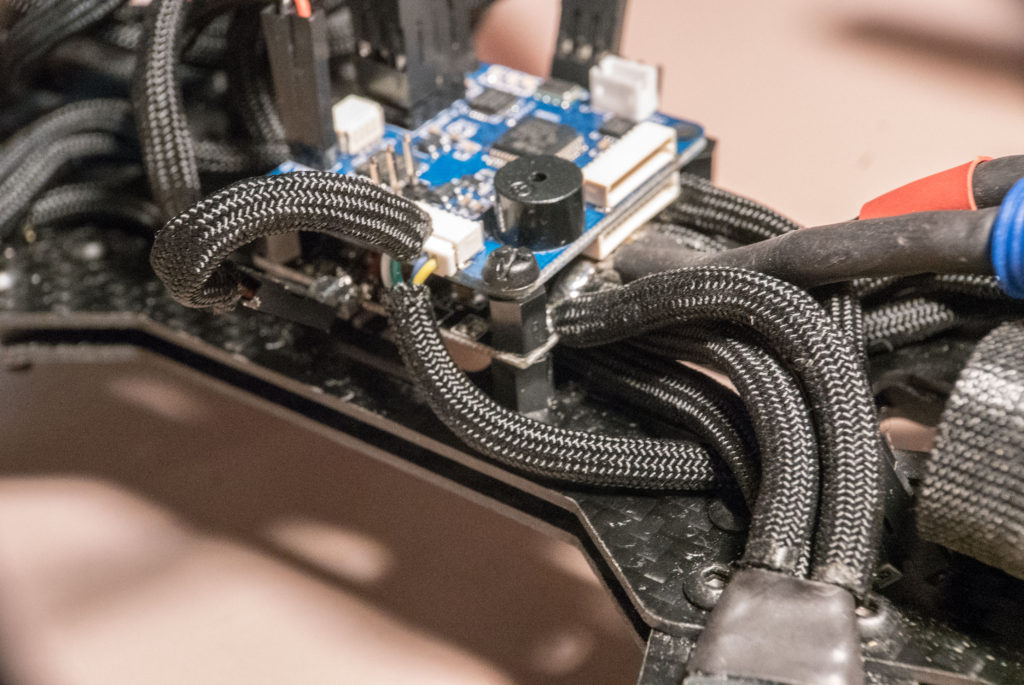
Installed Cable
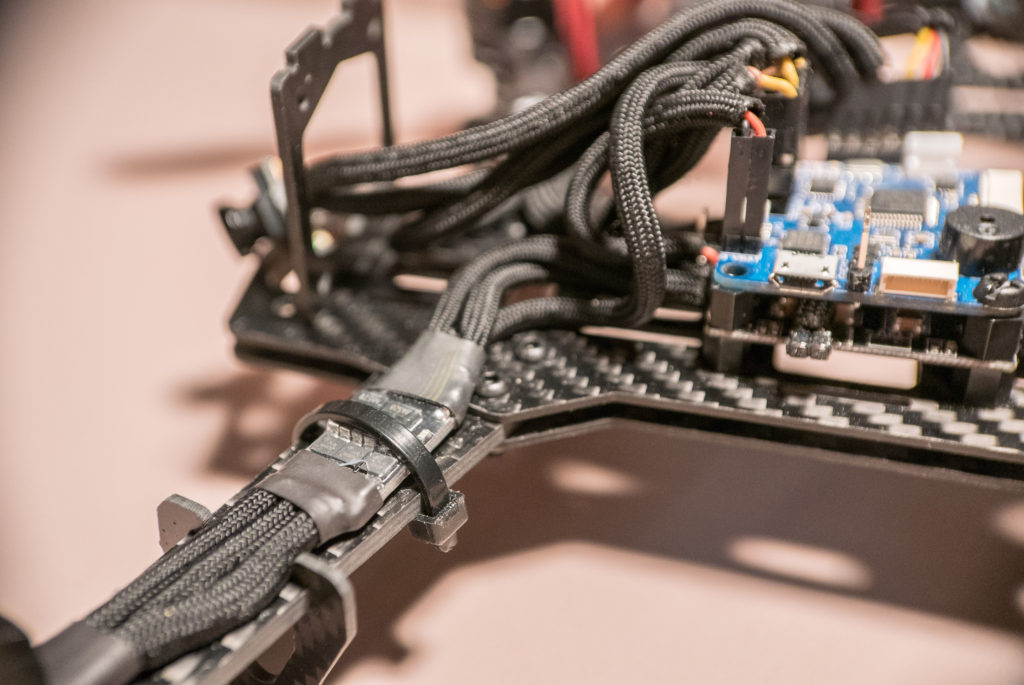
Using Heatshrink
Notice the Heatshrink for the ESC and Motor. It’s good for hiding the solder point and the end of the paracord sleeve.
Quick Tips
- Buy a frame with an integrated PDB (power distribution board). This can save a few feet worth of wire.
- Make it easy to unplug and change components.
- Double check the polarity of your connectors!

The paracord idea is genius! Not to mention the customization. Also, how did you integrate pins instead od soldering? I’m a beginner in fpv drones but the paracord I’m fenominal with as well as pc building so the pins made me excited too!