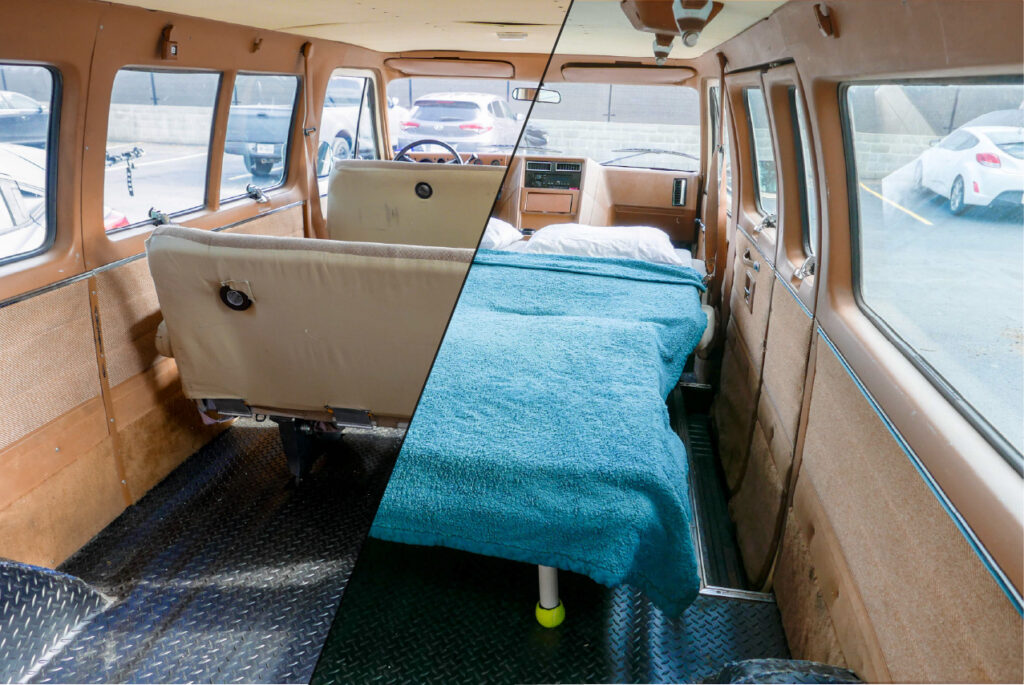
This post details my process of building and adding fold-down bench seats to an old van.
I’ve been restoring a ’91 Chevy G30. I want to be able to use it as a roadtripping and camping van, but not lose the ability to haul cargo and passengers. Ideally, my van would have 2-3 rows of removable seats that can fold down into a large bed.
As of 2019, it’s very difficult to find aftermarket seats like this in the U.S. There are seats like this or this, but they are $3,000+ and ship from Europe. There are also some cheaper fold-n-tumble seats for Jeeps, but they are too narrow.
Seats
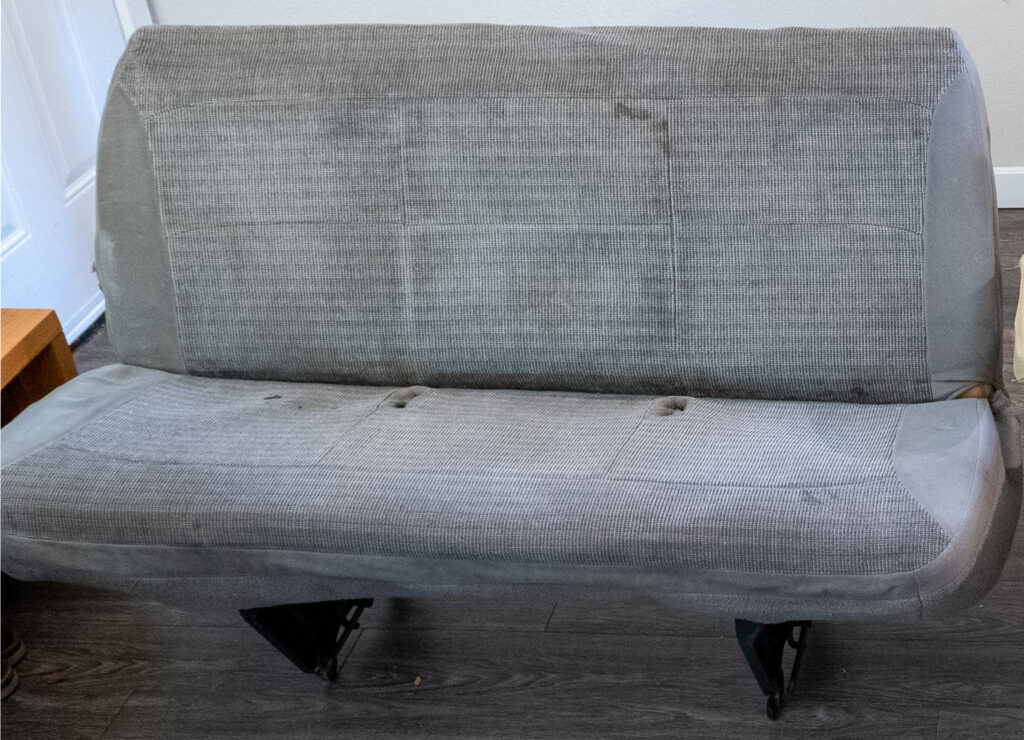
Since I was unable to find any good seats, I had to fab my own. I started by buying 4 bench seats from a 2002 Ford E-series van via Craigslist. They are fixed bench seats – there is no folding action.


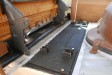
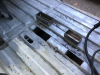
I started by stripping them down. I welded 4 full-size door hinges onto each bench. These give the fold-down action, yet are quite strong. The seats lock firmly into the upright position with these extra-long trailer pins.


In order to support the benches in the lay-down position, I added pipe ends to hold the legs. PVC tubes are used as legs.
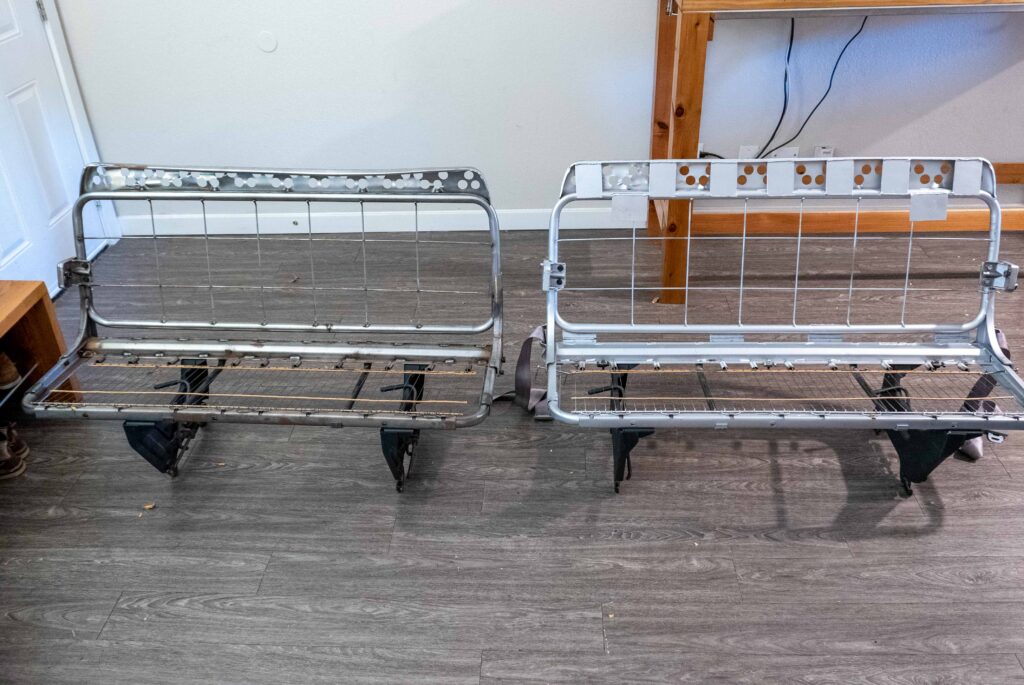
I sanded and painted the seat frames and added extra reinforcing bars at the top of the backrest. The top was very weak, so it had got all bent from the previous owner.


In addition to the seats being dirty and stained, they also didn’t match my van’s color scheme. I bought khaki and brown duck canvas and reupholstered the seats. This was the most time consuming process.
Before I get into the mounting of the new seats in the van, let’s take a quick aside on the floorboard.
Flooring
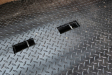
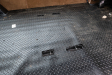
The rubber mat in this van had to be replaced. It tore apart as easily as paper and the padding underneath was turning into compost.
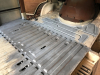
It took me about 2 weeks to sand and grind all the rust spots away, then another week to prime and coat the flooring with truck bed liner.
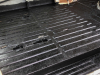
I couldn’t find a car mat that was at least 7′ x 14′, so I bought a rubber mat for a garage floor. This fit pretty well into the van.


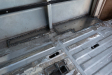
There was one corner where sitting water must have sat for a long time. I had to cut out that section and replace it with fresh metal.
Front Seat Mounts


The Ford Econoline seats have high quality, metal mounting brackets with quick-disconnect levers. This is one of the primary reasons I bought these seats – they can be installed and removed quickly without any tools.
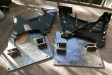
Since the Ford seats aren’t compatible with the Chevy’s floor mount, I had to fabricate new mounts.
The front seats mounts are made of 1/4″ steel plate and bolted into the original bucket seat mounting holes with grade 8 bolts. There are large metal brackets underneath the floorboard to keep the bolts from ripping out of the sheet metal floor in a car crash.
Rear Seat Mounts


For the rear bench seat, I had to mount it lower to get a comfortable seat height and angle. I cut holes into the floor and welded in custom mounting brackets. For extra safety and peace of mind, I added reinforcing metal straps to keep the seat firmly attached.
Seat Legs
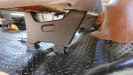
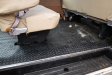
The legs are over-engineered and highly satisfying to use. I started with 1-1/2″ PVC pipe, bent them with a heat gun, added tennis ball feet, and a set of magnets for quick installation and removal.
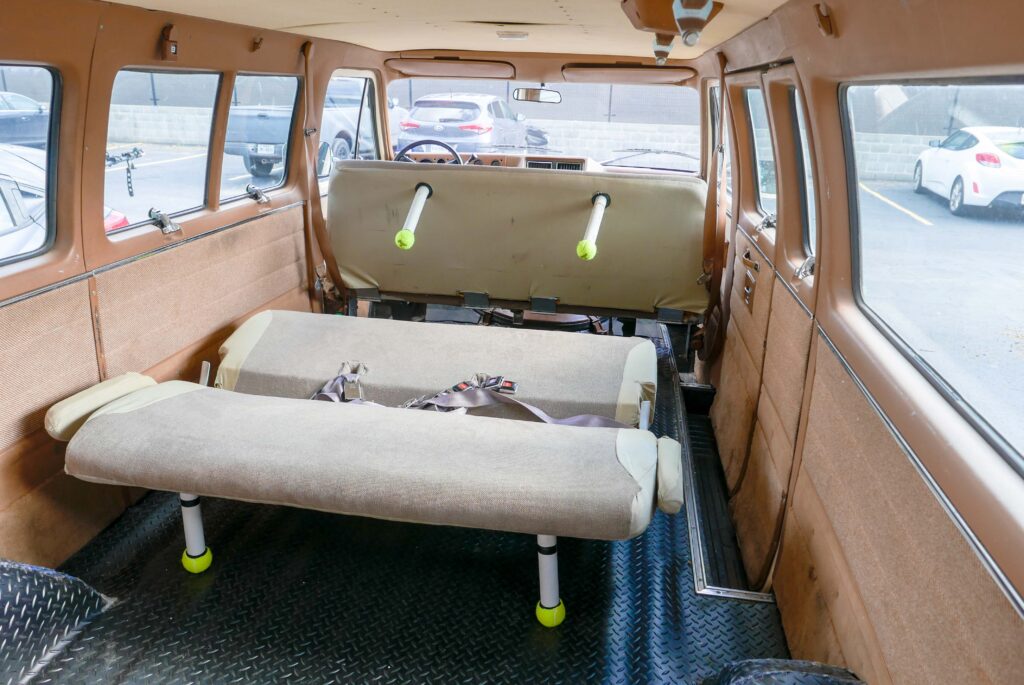
This picture shows how the legs attach to the seats.
Mattress


To make a perfectly flat sleeping surface, I cut mattress inserts out of a foam queen-sized mattress. I made mattress covers and a set of mattress toppers. It’s very comfortable.
Conclusion
These seats were a huge success. The bench seats are comfortable for both driving and sleeping and takes 2-3 minutes to convert between driving and sleeping. They can hold lots of people and things, look mostly OEM, and are easy to remove, allowing the entire van to be used for cargo.
This is amazing please if u can email me with more pictures of the locking hinges and what hinges you used I just bought a 1999 Ford econloine with a 7.3 and I love your bed man please email me
All the pictures I have are on this page. I used 4″ door hinges from home depot: https://www.homedepot.com/p/Design-House-4-in-Square-Corner-Satin-Nickel-Door-Hinge-Value-Pack-3-per-Pack-181651/302034847
The pictures in the post show an extra piece of 12 gauge steel welded on one side of the hinges to extend them.
Most hardware store hinges are usually covered in zinc or nickel, so don’t forget to sand off the coating before welding.
COOOL….too bad I don’t wan to do any welding. I have a GMC savana with bench seats and might try to ‘peek’ tomorrow to see what it will take to do similar to what you have done. Thanks for posting all of this.
great job
I have a Chevy van with these exact seats and want to do this! One question… How do the seats lock in the upright position once the hinge is installed?
I used trailer pins where there used to be bolts. I added two more pictures to the post showing a close up of where the trailer pins are installed.